Email account setup in Microsoft Outlook 2007-2010 (SMTP/IMAP/POP3)
Email clients, like Outlook, allow you to easily check your emails not going to web-interface.
This tutorial will help you to configure Microsoft Outlook 2007-2010 for your Coburn Enterprises Standard Hosted Email email account (these instructions will not work if you are using Hosted Exchange).
1) To create new account in Outlook, first go to the tab ‘File’. Click on ‘Account Settings’ and choose ‘Account Settings’ from the drop-down menu. 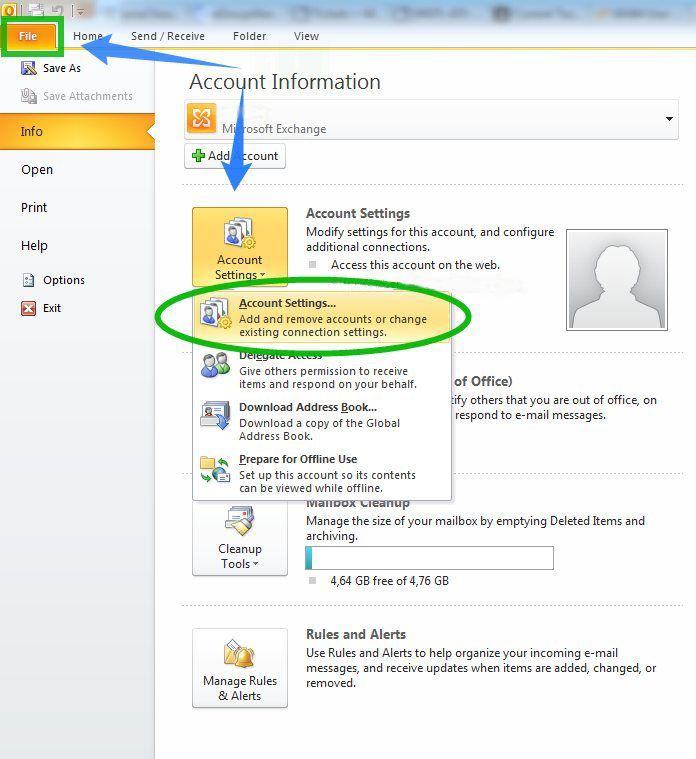
2) Click ‘New’ in the new window 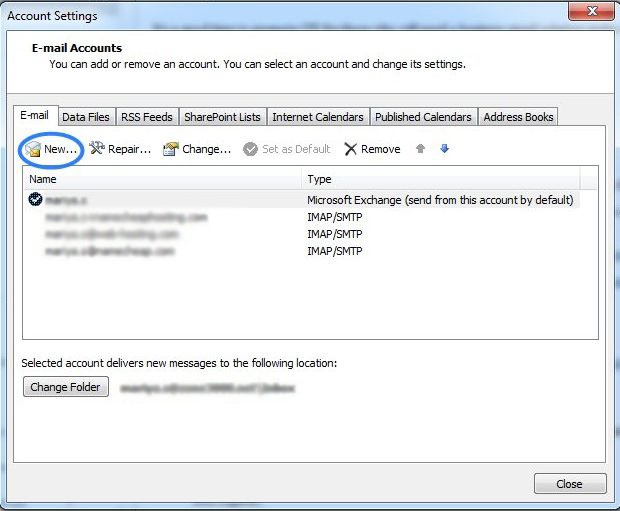
3) Choose the option ‘Manually configure server settings or additional server types’ and click ‘Next’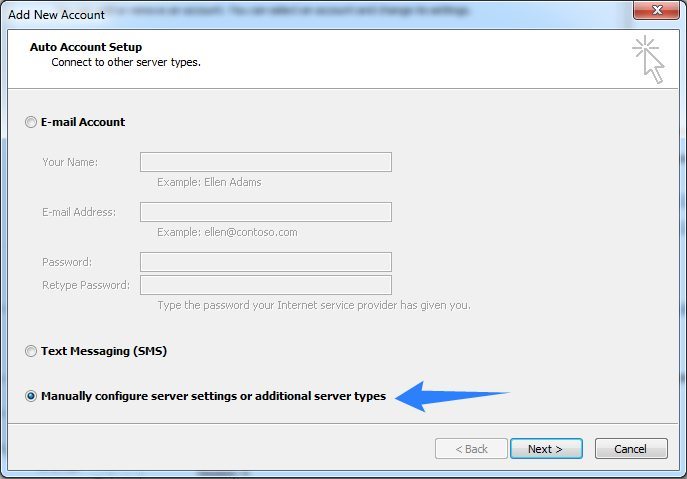
4) Choose ‘Internet E-mail’ and click ‘Next’ 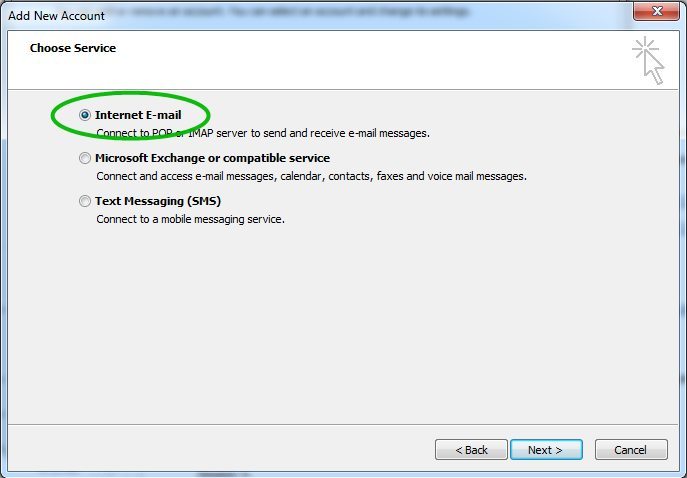
5) Enter the following settings in the corresponding fields:
Your Name: the name of your account in Outlook (usually your First and Last name)
E-mail Address: your Email email address
Account Type: select IMAP or POP3 from the drop-down menu
Incoming mail server: host.coburnenterprise.com
Outgoing email server: mail.privateemail.com
User Name: your full Email email address
Password: the password for this email account
Please, make sure, that the option ‘Require logon using Secure Password Authentication ( SPA )’ is unchecked. 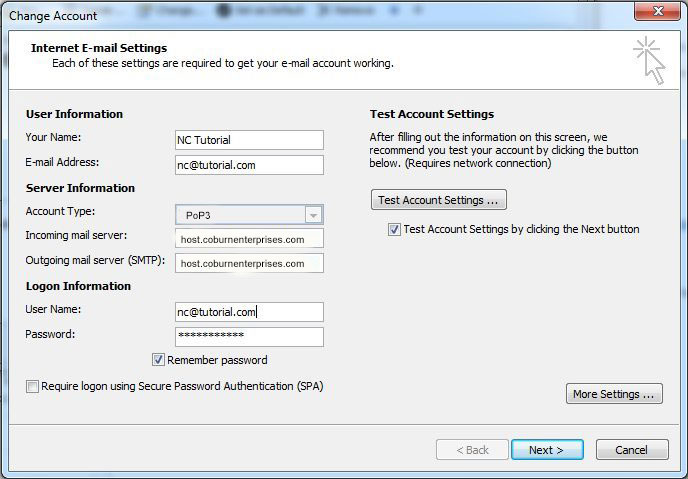
6) Click ‘More Settings’
7) Go to the tab ‘Outgoing Server’ and check-mark the option ‘My outgoing server ( SMTP ) requires authentication ‘ 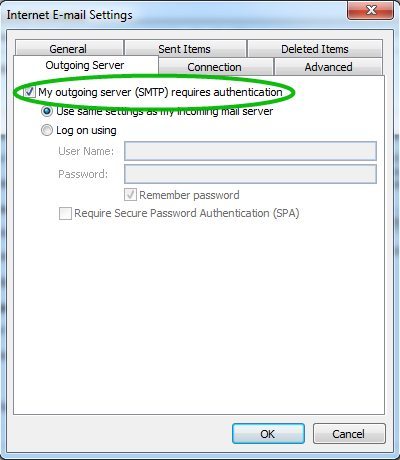
8) Now go to the tab ‘Advanced’ and enter the following ports:
Incoming server ( if are using IMAP ): 993 port for SSL, 143 for TLS.
Incoming server ( if you are using POP3): 995 port for SSL, 110 for TLS.
Outgoing server (SMTP): 465 port for SSL, 26/587 port for TLS. 
9) Click ‘Ok’ to return to the main window.
10) Click ‘Test Account Settings’ to check if everything entered is correct. If it is, you will see the statuses ‘Completed’ 
11) If the test was successful, you can now click ‘Close’ to get back to the previous window.
Then click ‘Next’ and finish the setup.
